Tuesday, November 12, 2013

Friday, October 18, 2013

Travel Journal

                                                                Travel Journal
                                                                   (in process)

These are the stacked signatures for one of the journals I am putting together for me and my sister.  Nothing is sewn together yet and I haven't done the front and back covers.  I am only taking pictures of one journal because they are pretty much the same.  There are a few details that differ in each book.  The teal page is like velvet and I embossed it but you can't really see it in this picture.  It really looks cool in person.
I didn't want to take a picture of every page because they are not complete I just stuck different papers together.  The bright red is an envelope that I sealed and cut a sliver off to make it a pocket.  It was a long envelope I folded it in half  so there will be another pocket on another page. The other journal has a teal envelope in this spot.


 This is a waterfall section as you flip through you can either add photo's here or journal till your hearts content.
This is a side shot of the waterfall section.
 
This is the back side of that waterfall section.


I had to hold this down because it wouldn't lay flat.
This red paper was cut using the "on the edge" die

This is a pocket (not complete) I put the paper in the pocket to show but it didn't really show well.

I really like this section.  I stamped on a transparency and love the look of it.


This is what you see when you flip the transparency up.  It is held together with a fastener and the papers waterfall but are all connected by the fastener at the top.  I made a score line at the 1/2 inch mark so the pages will all flip up easier.
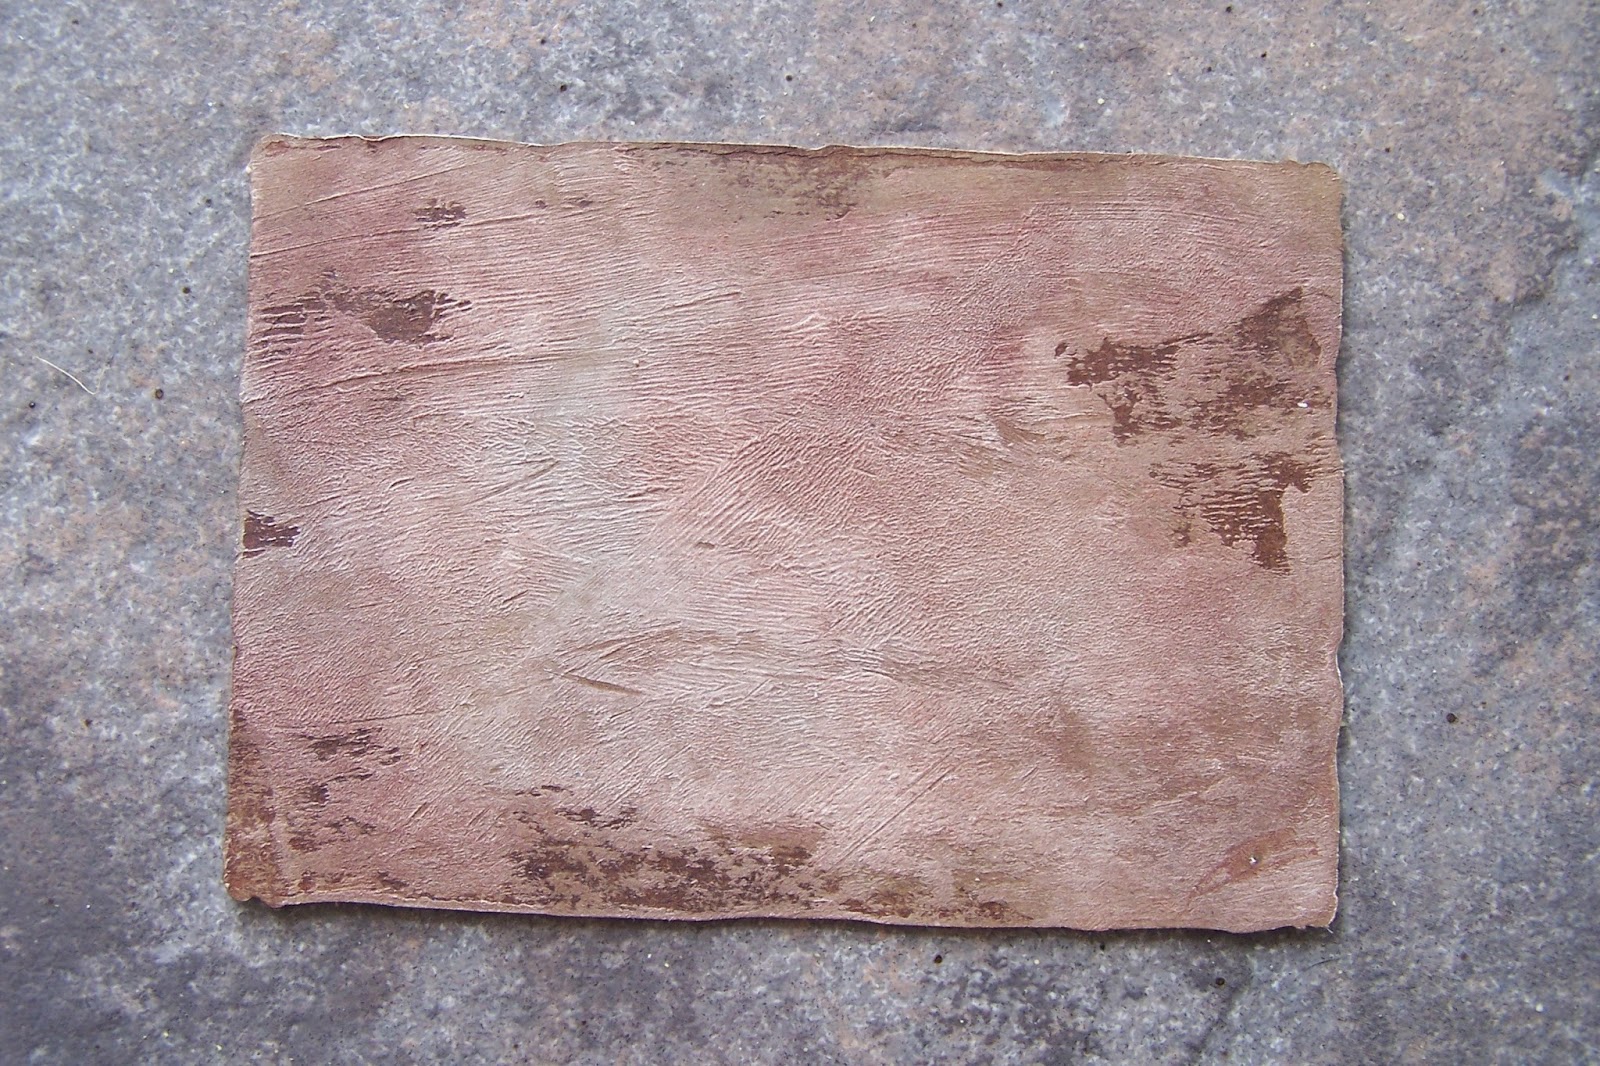
I put this paper to show the red is a pocket.  You can't see it but I embossed leaves on this red velvety strip.

This is the opposite end of the red paper from the 5th picture above.

I think I am done adding signatures to this.  There will be 4 (I think).  I need to figure out what covers I will be making so I can get this sucker sewn together.  I still have some tweaking to do but this is the main idea.

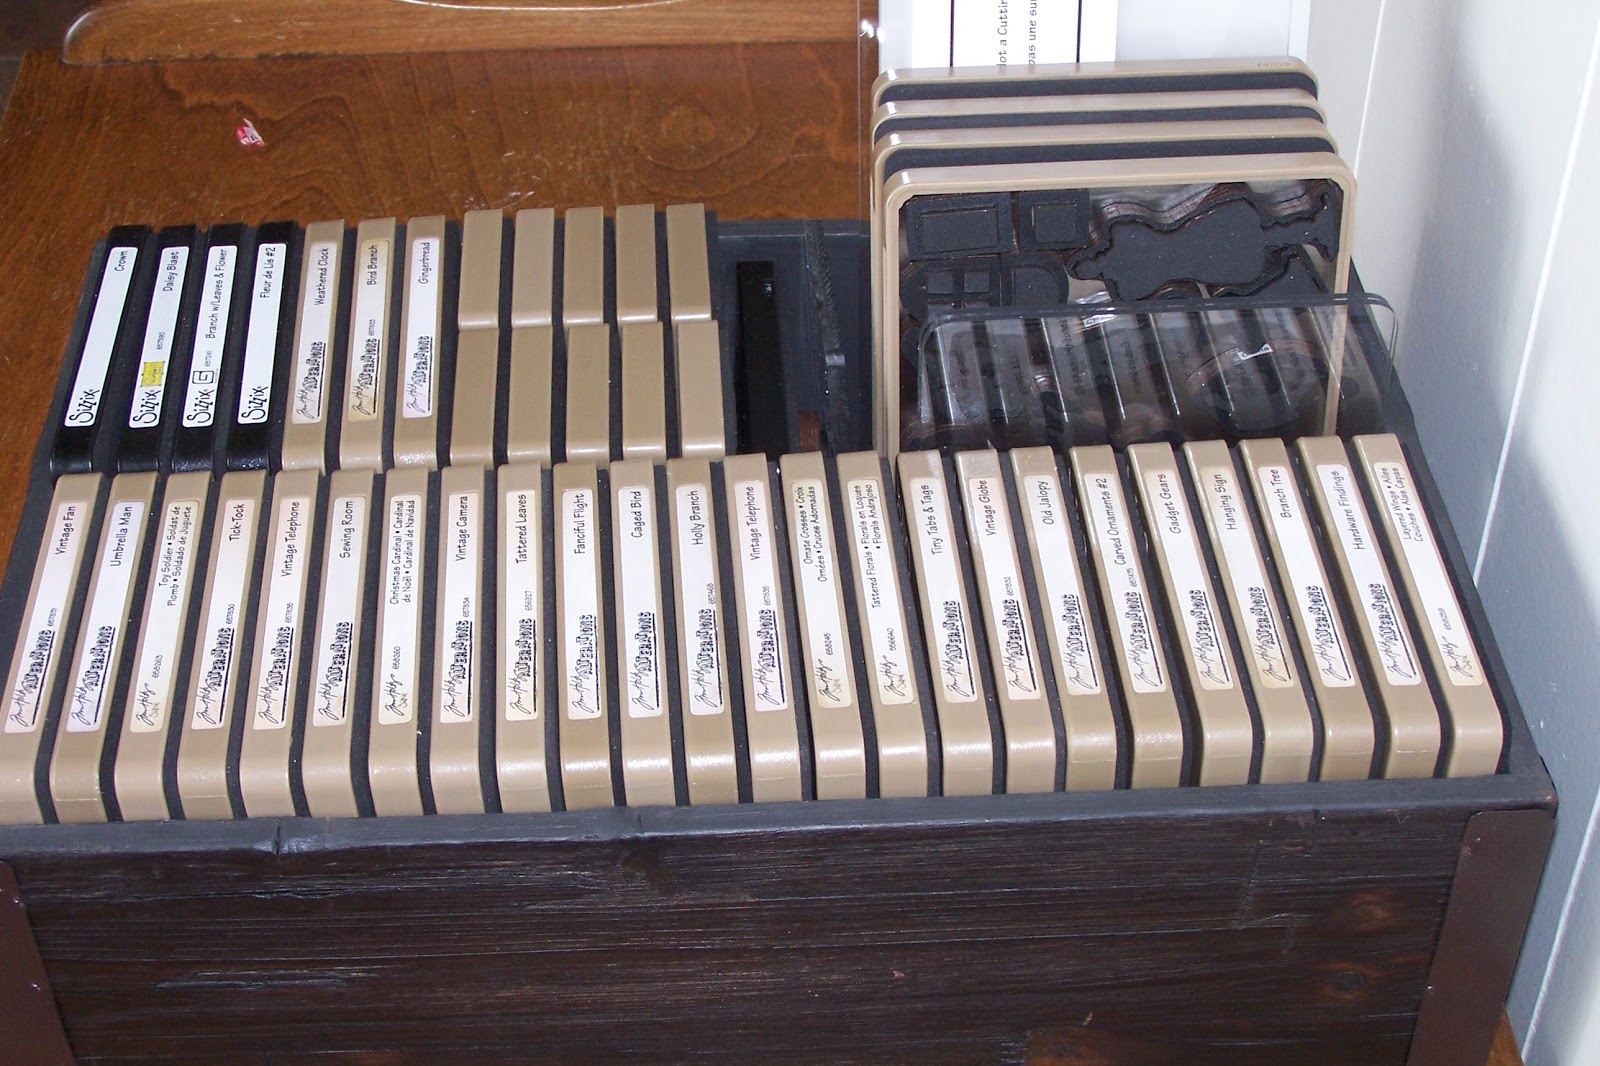
These are some trinkets that I have been playing with and plan on incorporating a few into the journals. The disc's are not finished yet.  I want to put some crackle paint on them.

Saturday, October 12, 2013

Shrinky dink charms

I have not been motivated to do much of anything craft wise.  I wish I had someone to craft with.  Oh well I guess I need to just shut up and start posting here.  I attempted these shrinky dink charms dipped in melted UTEE.  Here are the end results.


so something went wrong with trying to post the other pictures. I will try later.

Saturday, June 29, 2013

Tuesday, March 19, 2013

Happy Easter Tag.

Here is the Easter Tag I made.

I used distress ink for the background.  The rest is Tim Holtz tattered flower garland and ornate crosses.  I cut little strips of paper for the vine and I used color wash "meadow" to dye the leaves and the vine.  On the cross I used an ink I got in the jewelry section at Hobby Lobby.  It's by Ranger and its from the "Vintaj" line called "aged bronze".   I had an old torn up Bible that I took the verse out of (I felt really guilty for ripping up a Bible :/ ).Then I took a straight pin with a red heart on it and stuck it through the tag.


post signature

Wednesday, March 13, 2013

Happy St. Patrick's Day Tag


I think this came out pretty cool if I do say so myself.


So I caught myself a leprechaun and he's offering me some of his gold if I let him out of the cage.   Ha!!  Never!!! :)


post signature

Wednesday, March 6, 2013

Shadow Box


So I was going through some of my old pictures on my computer and came across this picture of a project I did for my son's senior year in high school.  Each graduating class has half a table to set up with all their accomplishments they have had over the past 17/18 years of their lives.  These tables are set up the morning of graduation and stay up for a couple hours after, in what they call the "Hall Of Fame".  It is for visiting family and friends to see all they have done. Part of what we set up for my son was a shadow box of his sports accomplishments. 

Here is the over all shadow box.

This angle shows the pins he received for the various sports he "lettered" in.  He now has this hanging in his room. post signature

Press On

Getting back to what I know.  I started this journal page with no real plan in mind.  I just threw some different color paint on top of the gesso-ed page and then just kinda made a mess.  I wanted to give myself some motivation physically as well as spiritually so I remembered the verse about pressing on.  This rings true in every area of my life right now.  I haven't felt like pressing on in any direction so I looked up the verse and put it in front of me by way of my opening page in my new journal.

Hope you like it and continue to "Press On" in your endeavors.

Sunday, March 3, 2013

Balloon Journal Page

Working on a journal page.  This is what I have so far. I am not sure I will get any farther than this.  I thought about putting a saying or something but I am at a loss for words.

Not exactly how I envisioned it  but it'll do pig, it'll do.  (Babe ref.)

The first thing I did was to gesso the entire page and let it dry completely.  I then took distress ink and used my blending tool to add different colors of blue to the page.  Starting with the lightest color and ending with the darkest color.  The colors were tumbled glass, faded jeans, stormy sky, and chipped sapphire.  Using various balloon stamps I stamped some directly on the page and others I stamped on white card stock and colored and cut them out.  I cut the clouds out of white card stock and used stormy sky on them so they would blend into the background a bit and not look so stark white. I used a tree line stamp and began stamping across the bottom of the page.  I masked one set of trees and stamped so it would look like more trees.  It didn't work as well as I would have liked.  I ended up having to add some tree limbs and a trunk or two with my distress marker (tea dye).  I used my blending tool again to add some tea dye to the "ground".  So there you have it.

Friday, March 1, 2013

Oganizing my dies

I love the Tim Holtz Alteration dies and I have been a little over compulsive in buying them.  I have issues... In more ways than one.  Any how I now have so many that I need to get creative in my storage of them.  I started out with a cardboard box that seemed addiquate enough but once I put the dies in it I realized they wouldn't fit properly.  On one of my many trips to Hobby Lobby I saw a wooden box that I thought might work and when I looked at the price I got all excited because it was marked down to half price so I only paid $12.50 for it. When I got it home I was even more excited because it fit two dies side by side (which is what I was hoping). 


The "Movers and Shapers" don't quite fit side ways but this works for now.  I love how the "On The edge" dies fit to one side, and side by side.  I wish there were two of those boxes because I know when the new dies come out in the spring I will need more room.  My husband has developed his wood working skills a lot lately maybe he can build me one.

    So the next step to my organization was to make some kind of binder for the pictures of the dies that came in the package.  I saw one idea on "Pintrest" that I liked the concept, but didn't like the plastic she used.  I am all for repurposing the  packaging I get when I can but I really didn't want to use the plastic for this plan.  So I reused some cardboard I had and made a mini book with the Tim Holtz binder rings.  My sister was visiting and she has these dies as well, so we set out to make two of these little binders together.  I have made mini books before so I wont go into all the details of how I covered my cardboard.  I have a book that I purchased a long time ago on how to make scrapbooks and that is where I learned to do it.  The name of the book is "Yes it's a Scrapbook" by Donna Downey.  It can be purchased HERE for a lot less than what I paid when it first came out. 


Above is the one we did for my sister


This one is mine.  I am so glad my sister was here with me to help with this project and I know she is excited to get back home to put all her pictures in her little binder.  You can leave a comment or ask any questions you might have. 


Sunday, February 17, 2013

Behind The Door Shelves

  I showed my husband a shelf system from Pintrest, the web page is here. So we took a trip to the local home improvement store and bought some wood to make it.  It was a project I thought would only take one weekend but here we are on the second weekend and I think I need next weekend to put a second coat of paint on it and it will be ready to hang.

  I share this space with my husband and am limited to the "left overs".  But it seems he has been releasing more and more space for me, or maybe I am just taking over.  Any how the behind the door shelves will go here.  The picture stays there so my husband will have to work around his picture. 
Here they are, so far.  More work to do on them. and I will update this when they are hung up and add some pictures with the stamps on them.  I can't wait.

  Here is the update on my "behind the door shelves".   Just adding the final results


Completed project!!!